Top Tips | Microsoft Teams
Teams is a fantastic collaboration tool for colleagues across the University to stay in touch, upload and share documents, work on projects together, and much, much more.
It’s easy to get started with Teams and use it for remote working, but there are also a lot of less obvious tricks you might not be aware of.
New Meeting Experience – July 2020
At the end of July, Microsoft have updated Teams to include some new meeting experience features. In order to access these features, you will need to follow these steps:
- Select your profile pic at the top right corner of the Teams app, then Settings > General. (General should be what’s showing when you open Settings, so you probably won’t have to select it.)
- Select the check box for Turn on new meeting experience.
- Restart Teams by quitting/closing and reloading
By activating New Meeting Experience, your meeting controls bar will be moved to the top of your screen, but functions in exactly the same way as before, just with some added features.
Take a look below for our top Teams tips:
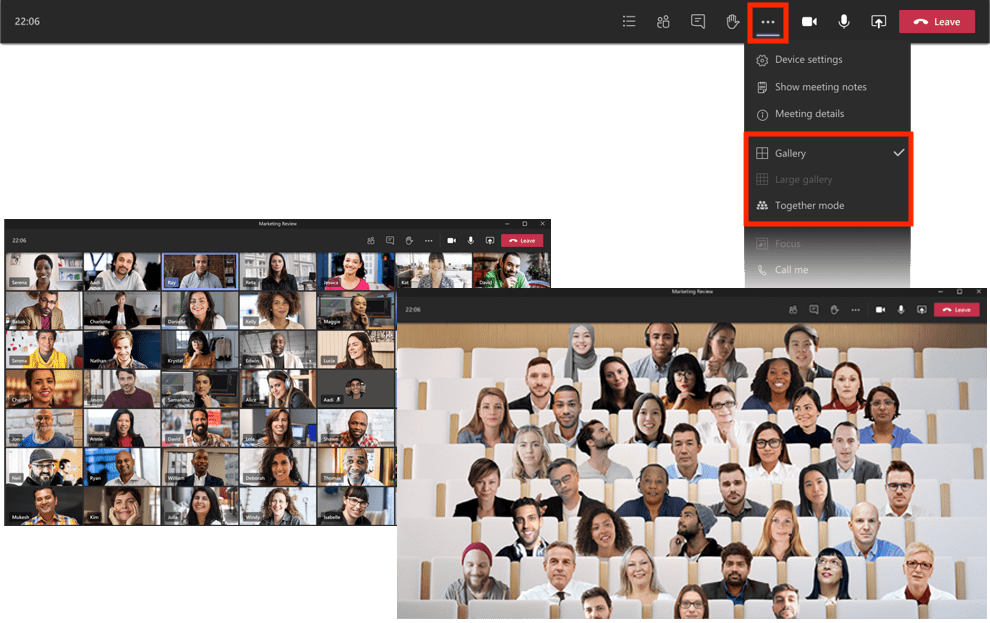
1. Using Gallery and Together Mode (New Meeting Experience)
After installing the new meeting experience, you will have access to the Gallery, Large Gallery, and Together Mode views, by clicking on the More Actions (…) button in the meeting controls bar. These modes allow you to see more video feeds at once than previously possible on teams, ideal for larger meetings.
Large Gallery and Together Mode are made available in groups when 10 or more users are sharing video, and can be used with groups of up to 49 users. Take a look below for what to expect when using these modes.
2. Inviting external users to online Teams meetings
If you need to host a meeting with contacts external to the University, you can include them in any Teams meeting you set up. Highlight a space in your calendar as normal for your meeting, then select the More options button in the bottom right corner of the dialog box.
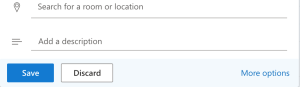
Next, simply add the email address of any external user(s) as normal, then in the Search for a room or location text box, select the Add online meeting drop-down and select Teams Meeting. Then send the invite as normal.

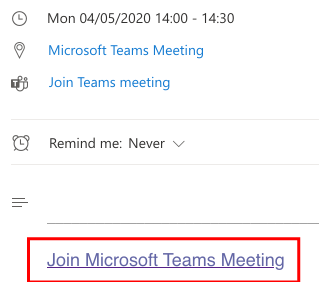
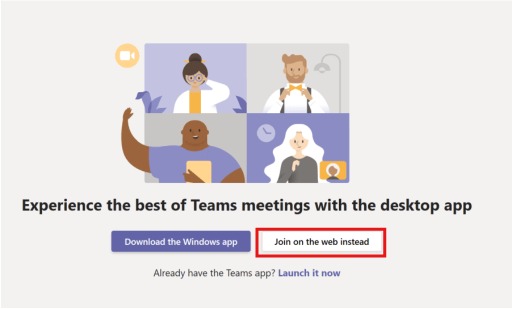
When the scheduled meeting comes round, the external user will be able to join through their relevant calendar via the invite in their email inbox. By clicking on Join Microsoft Teams Meeting in the invite, the user will be directed to a web page which allows them to join by downloading the Windows app, or via the web instead.
The web option allows all users (regardless of whether they have a Microsoft Account or not) to Join on the web instead without having to sign in, and is on the whole the easier option.
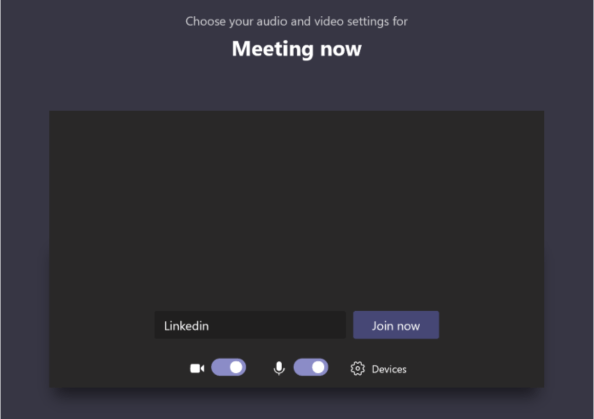
On the Meeting now screen, the user will simply need to enter their name and click Join now, then wait for the owner of the meeting to let them in. Users can also toggle their camera and microphone on or off while they wait.
Note: If you would like to invite an external user to join a Team as a guest, follow the steps provided on the Microsoft Support site
3. Checking who is in a meeting with you
If you want to see who is in a Teams meeting with you, you can check the full list of attendees by clicking on the Show Participants button in your meeting controls bar.
![]()
This will open the sidebar, and show which users are currently connected to your meeting. In addition, you will be able to see who has their microphone muted.
4. Changing your background
Did you know you can change your background in Teams? If you have the Teams app installed on your computer, you can select the More Actions (…) button from the meeting controls bar, then Blur my background and hide any unwanted mess or views of your room.
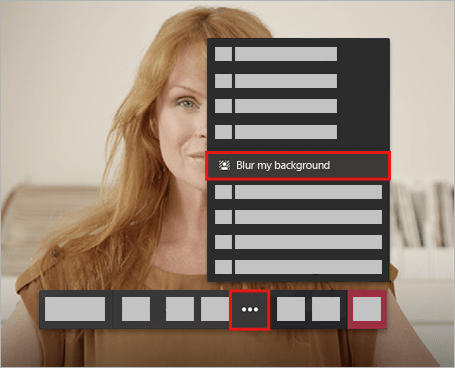
You can choose from a standard blur or a range of stock images – and you can even change your background before you enter a meeting, by clicking on the Blur my background toggle button while waiting to join.

5. Pinning/Unpinning video feeds during a meeting
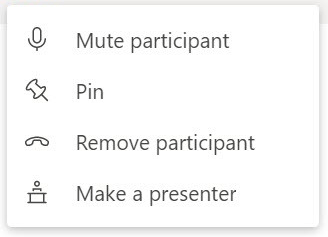
In some cases, it can be useful to see only one video feed in a large group meeting, particularly if one person is broadcasting to a number of other users. By default, you will be able to see multiple video feeds, but by selecting the Show Participants button in your meeting controls bar (next to the hang up button) you can click on the More Actions (…) button that appears when you hover over a particular user’s name, then select the Pin option. This will allow you to fill your main screen with only that user’s video feed.
You can also right-click on any visible video feed and select Pin for the same effect.
To unpin a video feed, follow the same steps, then select Unpin.
6. Recording Teams meetings and group calls
You can now record Teams meetings and group calls, capturing audio, video, and screen sharing activity, which can be helpful during long presentations or when important information is discussed. To start recording once you’re in a meeting, go to the meeting controls and select More Actions (…) > Start recording.
Note: everyone in the meeting will be notified that you have started recording via a small pop-up at the top of the screen.
To stop recording, simply select More Actions (…) > Stop recording. Meeting recordings will be automatically stored within Microsoft OneDrive and can be accessed later via Office 365.
For more information on Recording Teams meetings, visit the Microsoft Support site
7. Tagging other users in Teams posts
When posting a message on a Teams page, you can tag users so that they receive a notification. This is particularly useful in larger groups shared by lots of users, to ensure that messages don’t get missed in waves of information and frequent updates.
When writing a post, simply type the @ symbol, followed by the name of the colleague you wish to tag, then select their name from the drop down menu that appears. Their name will appear in the text as a hyperlink, and they will receive a notification that they have been tagged in your message.
You can also tag Teams in the same way by typing the group name after the @ symbol.
8. Ending a meeting for all users
When you click on the Hang Up button, you will leave a meeting or call. This will allow you to exit a meeting, but other users will remain connected. To end a meeting completely, you can click on the More Actions (…) button in your meeting controls bar, then select End meeting. This will hang up the meeting for all users, rather than just yourself.

9. Setting up meetings in Teams channels
It can be useful to set up meetings within Teams channels, for example if you wanted a meeting with all colleagues of a certain group within a channel. The process for doing this is very similar to how you would set up a meeting in Outlook.
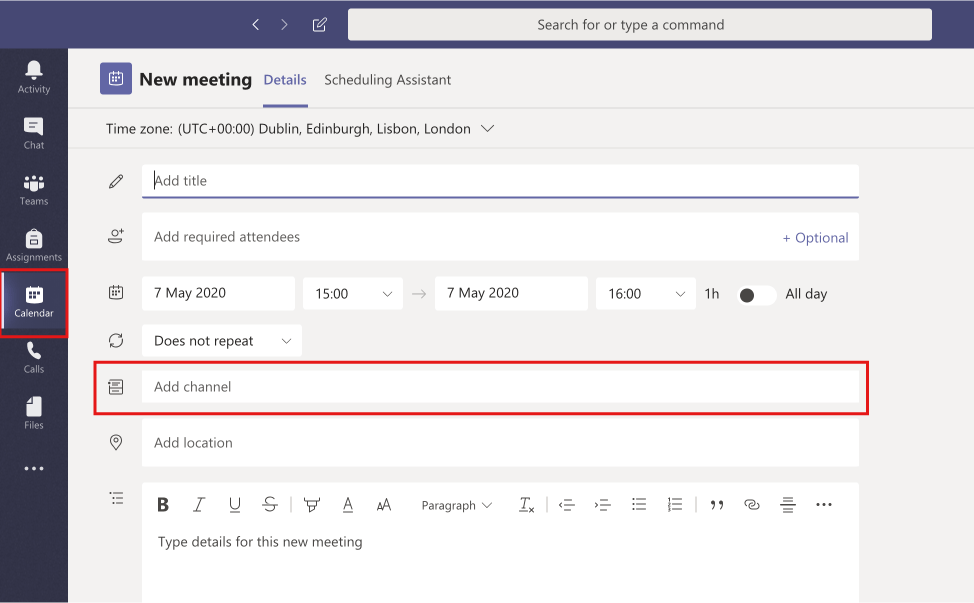
First, open Teams, and select the Calendar button in the left-hand sidebar. Then, highlight your preferred time/date slot on the calendar screen. You will be presented with a familiar meeting details screen to complete. Work through the fields as normal (adding required attendees etc.), then click in the Add channel field. A list of available channels will appear in a drop-down menu, or you can type in the name of a specific channel. Select the channel you wish to use, and complete the rest of the meeting details, then select the Save button in the top right of the screen.
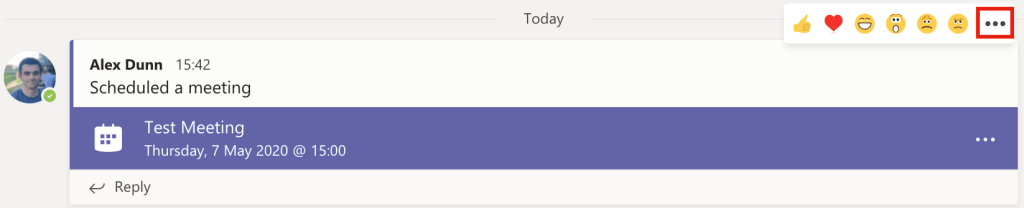
The meeting will appear within the main feed of the channel you selected for all users on that channel to see. However, they will not be instantly notified. To notify them, select the … at the top right-hand side of your meeting post and select Edit. You will then be able to add a tag in the text by typing “@” followed by the channel or users you wish to notify.
10. Using the Whiteboard feature
In scheduled Teams meetings on channels, you can collaborate and discuss ideas by using the Whiteboard. Click on the Share button on your meeting controls bar, then select the Whiteboard button on the right.

You will then be able to doodle and draw ideas on a shared Whiteboard with all members of the meeting. You can export your whiteboard as an SVG file by clicking on the settings cog in the top-right of the whiteboard.
11. Test your Devices
You can test your microphone and camera by performing a test call. To do this, select your profile picture in the top-right corner of the Teams window, then select Settings.
Click on the Devices tab in the left sidebar, and you will be able to see a list of currently connected audio devices and cameras in separate drop-down menus. Select the devices you wish to use from their corresponding drop down menu (make sure you know the name of your device).
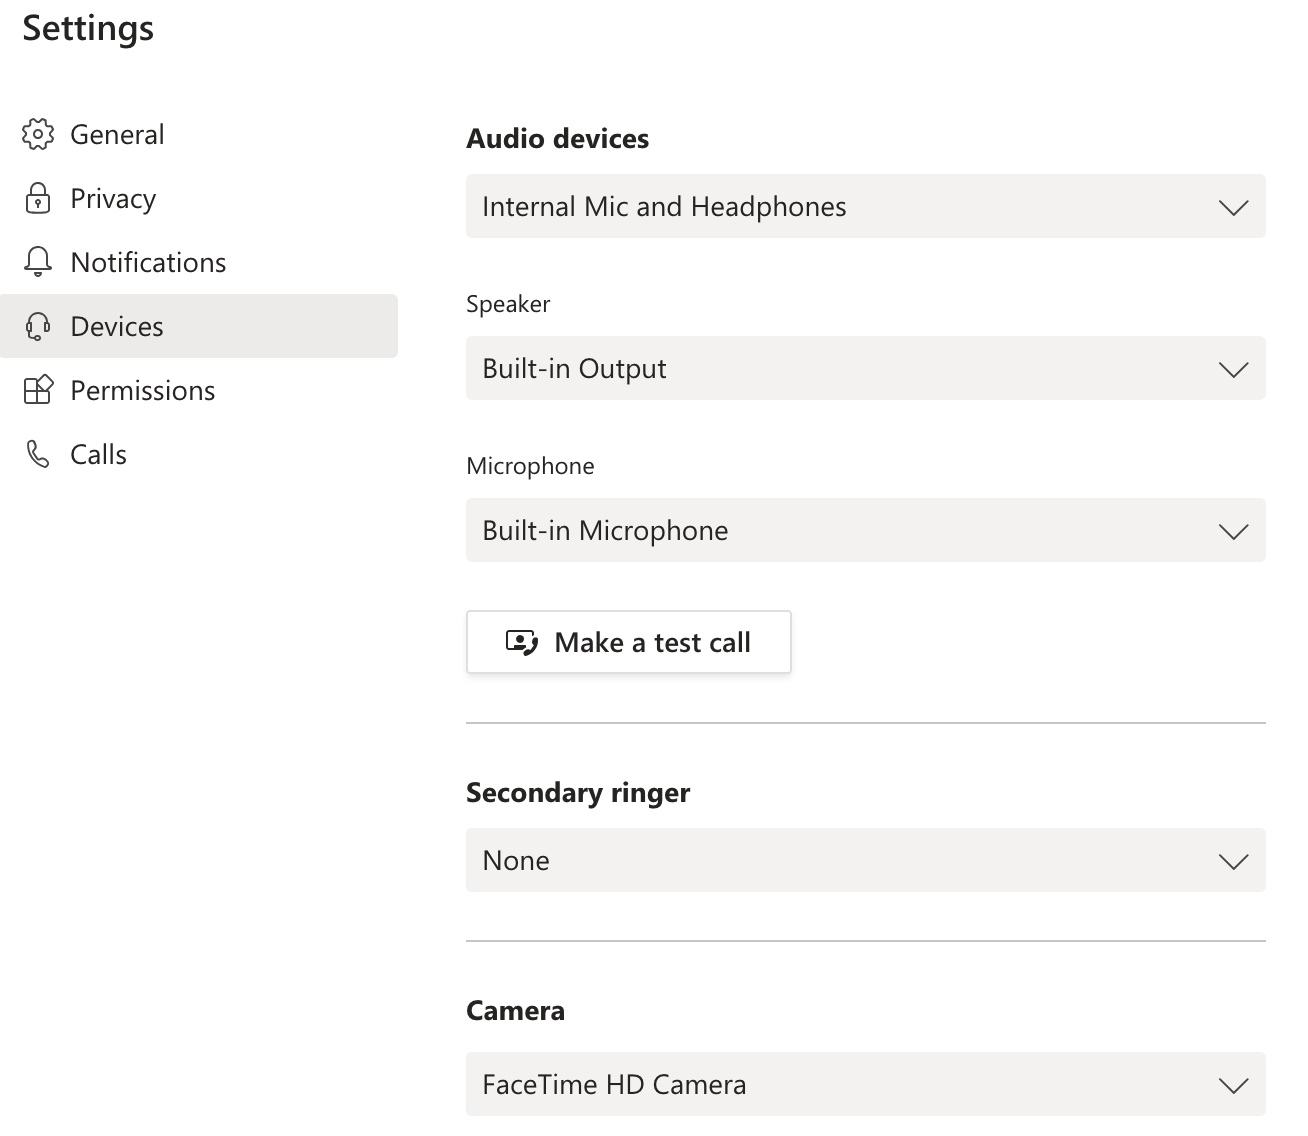
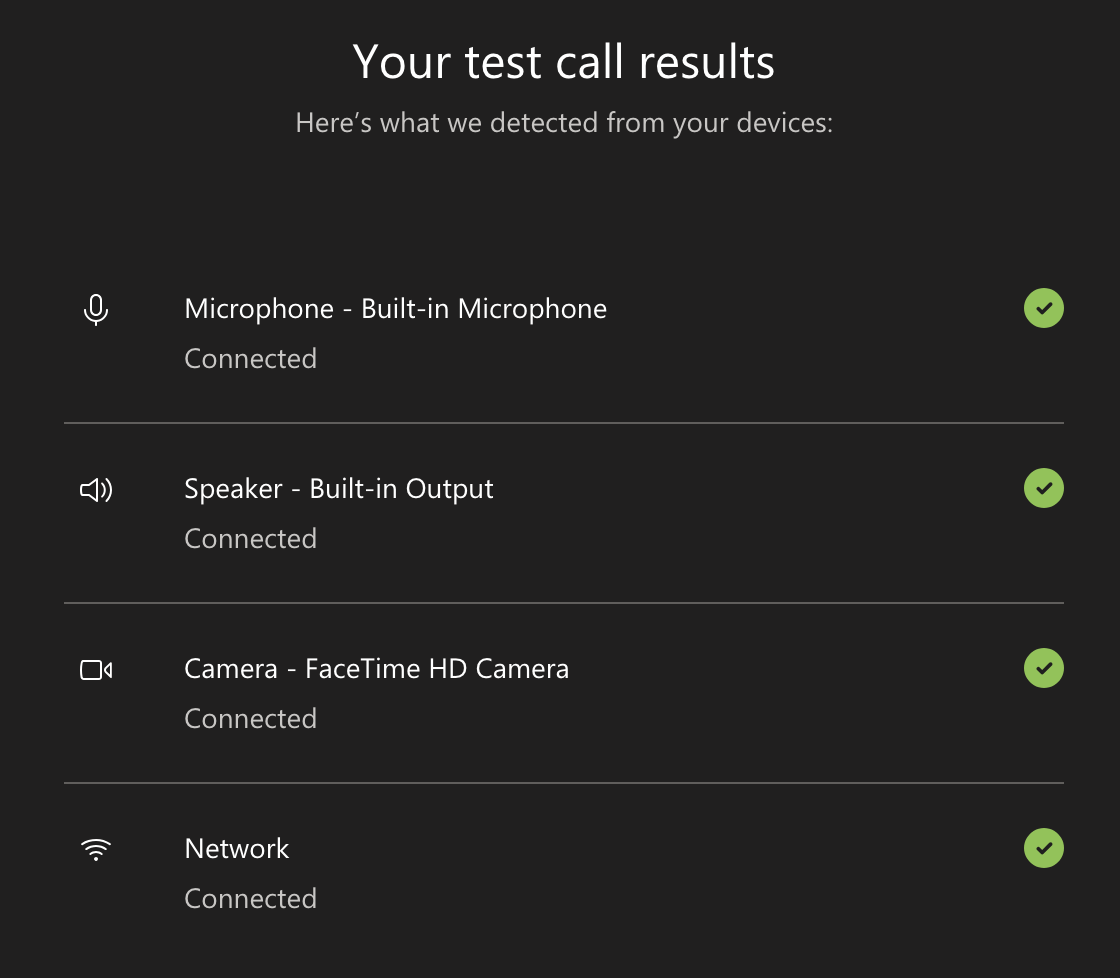
To ensure your devices are working, you can click on the Make a Test Call button. This will allow you to see how your camera feed looks, and record a short audio message, which will be played back to you, so you can check the quality.
If users you are trying to call are having issues, it is always worth running through these steps with them to ensure their devices are connected and working properly.
12. Avoid changing names of Teams Channel folders when using SharePoint
Although not recommended, it is possible to change the folder structure of a Team within SharePoint.
If you are attempting to restructure/tidy up the files and folders in a Team by using SharePoint, bear in mind that you should not change the names of any of the folders. The Team’s folder structure is based on Channel names, so there will always be a folder called “General” as well as folders named after their corresponding Teams Channels.
As long as these Folder names are not changed, Admins/Team owners can move files within them through SharePoint. However, if a folder name is changed, then the next time Teams is used it recreates a folder with the Channel name and the newly-organised files disappear from view. These files are still there but will not be visible in Teams.
You will need to open the Team in SharePoint then choose “Documents” and then navigate to the reorganised Folder Structure. We advise against restructuring Teams files and folders through Sharepoint to avoid this issue.
13. Using Live Captions in video calls (subtitles)
During video calls, you can turn on Live Captions (CC) to see an automatically transcribed set of subtitles for participants as you speak.
Click on the More Options (…) button at the top of your meeting window and select Turn on Live Captions. Once activated, Teams will automatically transcribe what participants in the call are saying and display them as subtitles at the bottom of the call window.
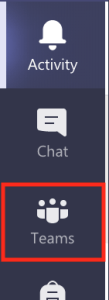
14. Finding a Team you’re a member of
To see any Teams you are a part of, click on the Teams icon/tab on the left side of the screen (bottom on mobile). From here, you can see all the Teams you are a member of from the Your Teams or Hidden Teams menus.
15. Checking Team Members
You can check who is a member of a Team, remove members and promote members to the role of owner. As an owner, they will have the same views and rights as you currently have.
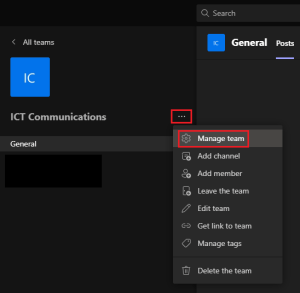
To check your team’s membership, go to the team name and select the More options ellipsis (…). Then click on Manage team at the top of the menu. This selection will then display a list of Owners and Members.
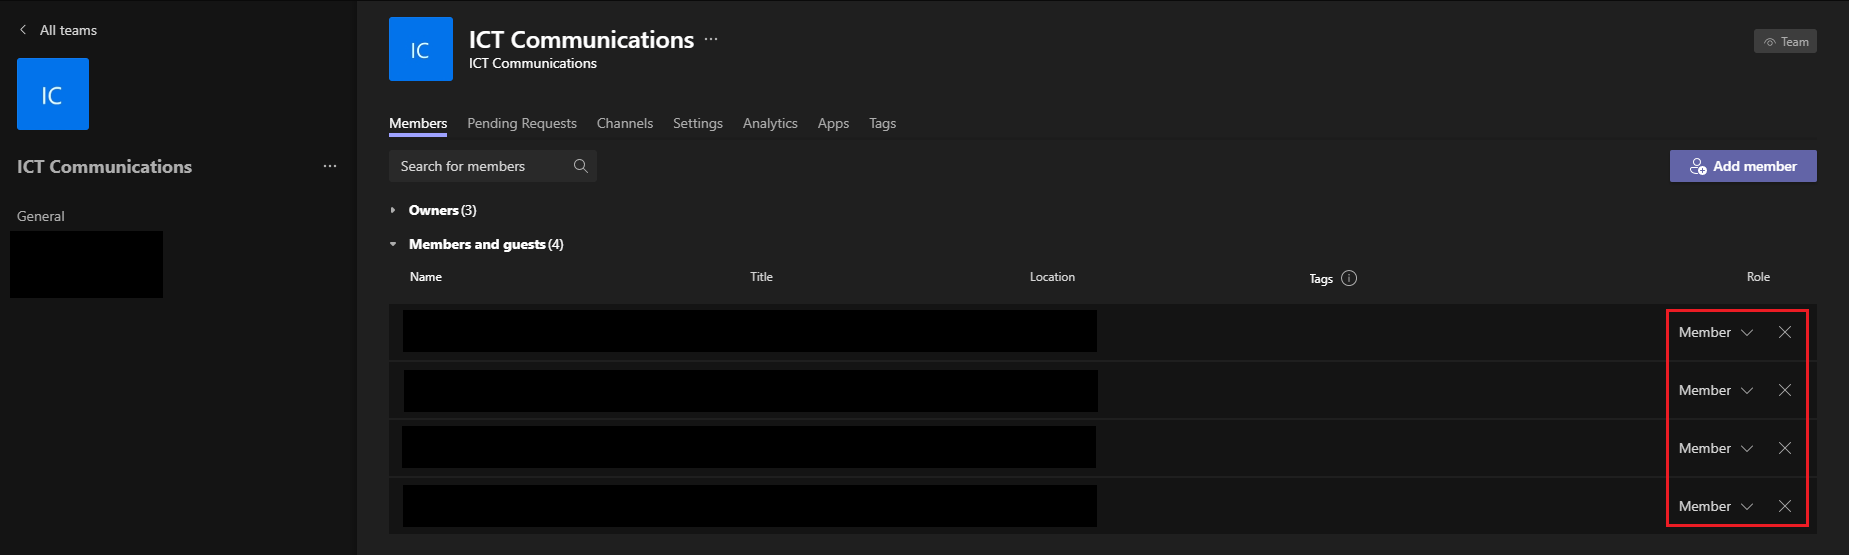
To remove a Member or Owner, click on the X next to their role description in the Role column. If you wish to promote or demote a Member to or from an Owner, click on the arrow next to their role and select the appropriate new role.
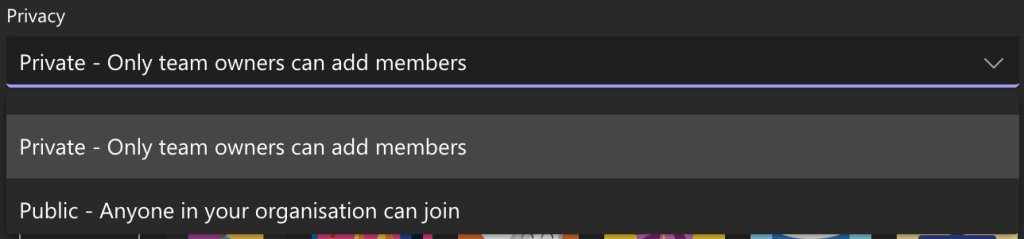
16. Setting a Team to Private/Public
Once you have a Team set up, you can change the Privacy to either Private or Public.
By setting your Team to Private, only users invited to the Team by Team Owners will be able to access the files, conversations and posts in the Team. By setting your Team to Public, all University users – staff and students – will be able to join and access everything within the Team, including past posts and conversations.
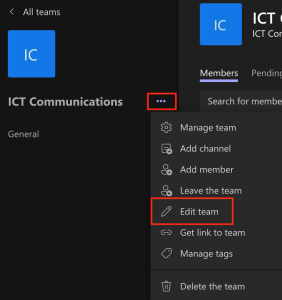
To change the privacy setting on your Team, go to the team name and select the More options ellipsis (…). Then click on Edit team toward the bottom of the menu. Under Privacy, select either Public* or Private.
*Please Note: If your Team is set as public, any University users can join your Team and see its contents. If you are working with sensitive or private data to be shared only with a select group of colleagues, always set your Team to private and only invite users who are required.
17. Deleting a Team
If you are an owner of a Team and no longer require it, you can delete it. Please be aware that if you delete a Team you will no longer be able to access any of the chat record or Files stored in the Team. Please backup any files before proceeding.
To delete your Team, go to the team name and select the More options ellipsis (…). Then click on Delete the team at the bottom of the menu.

For more in-depth guides on all things Teams, take a look at the Microsoft Office support site.
For a rundown on all of the new meeting experience features, visit this Microsoft Blog page.
If you have any specific questions or queries, or any technical issues with Teams, give us a call on 01522 88 6500, or email us at ict@lincoln.ac.uk